



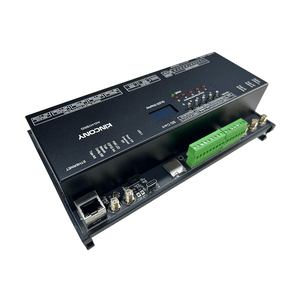
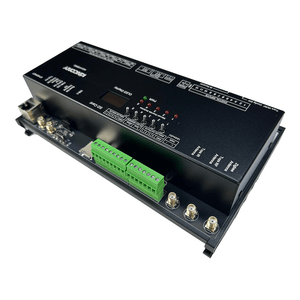
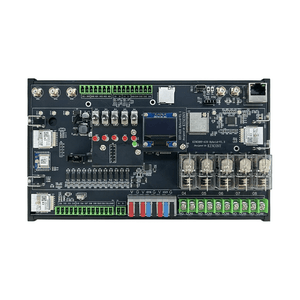
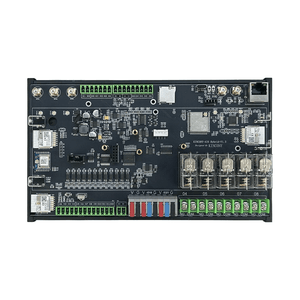
KinCony AIO Hybrid 5‑Channel Relay Controller & 4‑Channel Dimmer
Frequently Bought Together
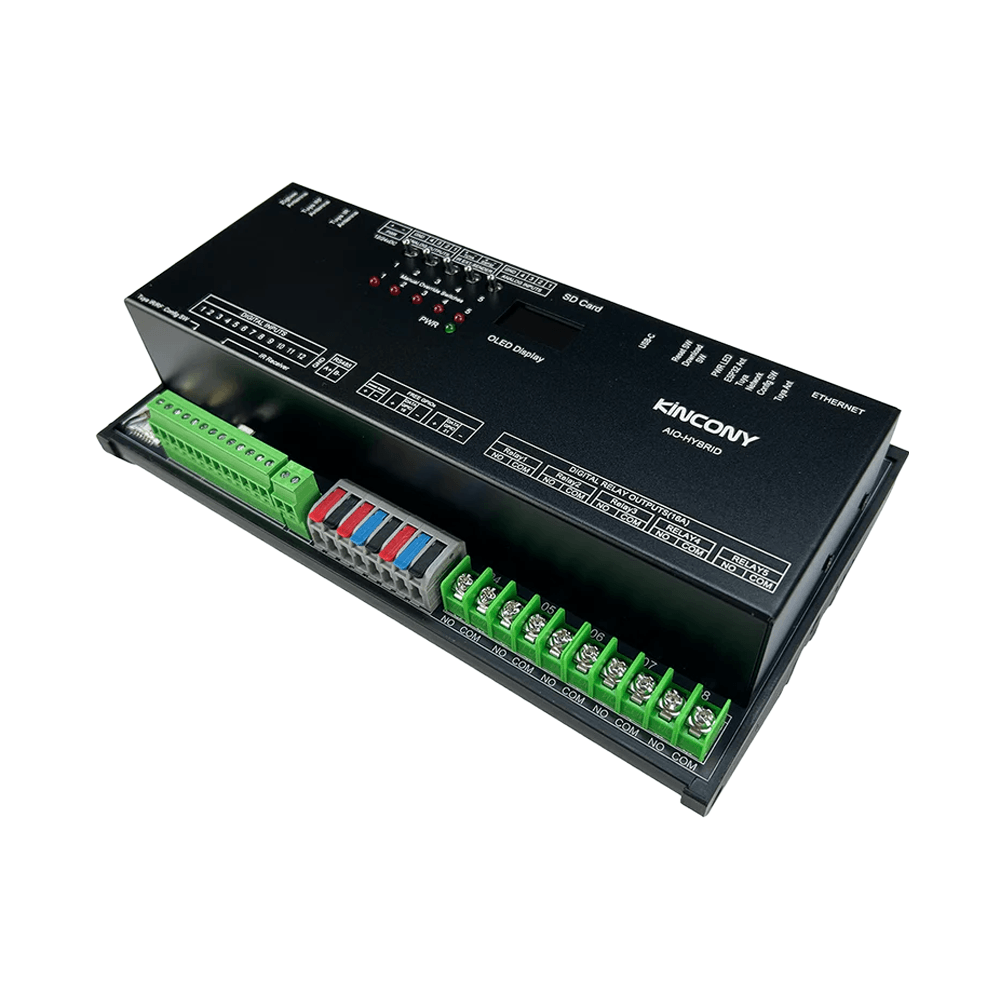
If you want a single board that handles relay switching, analog dimming, IR blasting, RF wireless, Zigbee, and multi-network connectivity all at once — the KinCony AIO Hybrid is exactly that. Built on the ESP32-S3 and designed for DIN rail installation, this controller packs a surprisingly complete feature set into one compact enclosure. It works great for smart home builds, light commercial automation, or any project where you need a lot of I/O without wiring together multiple separate modules.
Why You'll Love This Controller
✔ Complete All-in-One Solution
Relay switching, 0-10V dimming, IR/RF control, Zigbee coordination, analog sensing, and data logging — all in one DIN rail module. No extra boards required for most projects.
✔ Works With the Tools You Already Use
Whether you prefer the Tuya app for quick smartphone control, Home Assistant for local automations, ESPHome for YAML-based configuration, or Tasmota for open-source flexibility — the AIO Hybrid supports all of them out of the box.
✔ IR and RF Without Add-Ons
Built-in IR and RF 433MHz capability means you can replace physical remotes and integrate legacy wireless devices without adding external modules.
✔ Zigbee Hub Built In
The onboard Zigbee module lets you build a full smart home ecosystem around this one controller — sensors, switches, and other Zigbee 3.0 devices connect directly.
✔ Your Project, Your Code
Full access to Arduino IDE, MicroPython, and ESP-IDF means you can write completely custom firmware. KinCony provides demo code for common use cases to get you started faster.
✔ Reliable When It Matters
Optically isolated digital inputs protect the board from electrical noise on long cable runs, and the five manual override buttons keep things working even when software or network issues arise.
Among other outstanding features are the following:
-
Dual-Network Connectivity: Equipped with both Wi-Fi and 100Mbps Ethernet (IPv4/IPv6), plus Bluetooth, so it fits into virtually any network environment.
-
Precise Timekeeping: The onboard DS3231 RTC chip keeps accurate time even through power interruptions or network outages, making scheduled automations reliable.
-
SD Card Storage: A built-in SD card slot over SPI lets you log sensor data, store configuration files, or cache firmware updates locally.
-
Multi-Protocol Support: Works with HTTP, MQTT, TCP, RS485 Modbus, and the Tuya app — plus IFTTT-style local automation through KCS firmware, without needing an internet connection.
-
OLED Status Display: The SSD1306 OLED screen shows the current Wi-Fi IP address, Ethernet IP address, and Tuya cloud connection status at a glance — handy during setup and for quick field checks.
- Free GPIO Pins: Two exposed GPIO channels connect directly to the ESP32S3, giving you flexibility to add custom sensors, LED strips (including WS2812B addressable LEDs), or other peripherals.
Technical Specifications:
| Category | Specification |
|---|---|
| Core Processor | ESP32-S3-WROOM-1U (N16R8, dual‑core 32‑bit Xtensa LX7) |
| Digital Outputs | 5× OMRON® removable relays ▪ Contact: COM, NO ▪ Max load: 250 VAC / 30 VDC, 16 A per channel |
| Analog Outputs | 4× DAC 0–10 V (for dimming or motor speed control) |
| Analog Inputs | 4× 16‑bit ADC ▪ 2× 0–5 VDC ▪ 2× 4–20 mA (loop‑powered) |
| Digital Inputs | 12× dry contact, opto‑isolated ▪ Cable length: up to 500 m (dependent on installation) |
| Digital I/O (GPIO) | 2× free GPIO (direct to ESP32, for LED strip like WS2812B) |
| Wireless & IR | ▪ Wi‑Fi 2.4 GHz (802.11 b/g/n) ▪ Bluetooth 5.0 (BLE) ▪ 433 MHz RF receiver & sender (Tuya) ▪ IR receiver & sender (for ESP32-S3 and Tuya module) ▪ Zigbee 3.0 (compatible, for pairing sensors) |
| IoT Platform | Tuya‑compatible (via Wi‑Fi/Bluetooth) |
| Wired Connectivity | ▪ Ethernet: 100M RJ45 (IPv4/IPv6) ▪ RS485 ▪ USB‑C (power/programming) ▪ I²C (expansion) |
| Onboard Peripherals | ▪ RTC: DS3231 (battery socket) ▪ Display: SSD1306 128×64 OLED (I²C) ▪ Storage: microSD card socket (SPI bus) |
| User Interface | ▪ 5× manual control switches (for direct relay override) ▪ 4× buttons: ESP32 Reset, ESP32 Download, Tuya relay config, Tuya IR/RF module config |
| Power Supply | 12/24 VDC (12 VDC default for OMRON relays) |
| Dimensions | 218 × 127 × 64 mm |
| Mounting | 35 mm DIN rail (EN 60715) |

I. Firmware Options & Features
| Solution | Ideal For | Key Advantages |
|---|---|---|
| 1. KCS Firmware (Recommended) | Beginners / Zero-Code Users |
✔ Auto-detects Home Assistant via MQTT (zero config) ✔ Works with Tuya App + Alexa/Google Voice Control ✔ Local IFTTT automation (no internet needed) ✔ 2-year free KinCony Cloud (official store only) ✔ Apple HomeKit support for Siri ✔ Supports Loxone Miniserver integration ✔ Multi-protocol: HTTP, MQTT, TCP, RS485 Modbus |
| 2. ESPHome Firmware | Home Assistant Enthusiasts |
✔ Full open-source customization ✔ Official ESPHome device support for AIO Hybrid ✔ Web UI + deep HA integration ✔ Full YAML examples available |
| 3. Tasmota Firmware | Open-Source Community |
✔ Massive plugin ecosystem ✔ MQTT / Web control + rule engine |
| 4. Arduino / ESP-IDF Custom Code | Developers |
✔ Full Arduino demos provided ✔ Supports MicroPython / ESP-IDF |
| 5. Hybrid Setup (Best Practice) | Advanced Users | Tuya App (remote via internet) + Home Assistant (local via LAN) — Security + convenience |
II. Technical Resources
Direct links to pin definitions, ESPHome configurations, Arduino demo source codes, and KCS firmware. All open-source and maintained on GitHub.
| Resource | Link |
|---|---|
| KCS Firmware | kcs_firmware/AIO_Hybrid/ |
| Pin Definitions | AIO_Hybrid_pin_definition.md |
| Arduino Demos | AIO_Hybrid/ (13 examples) |
| ESPHome Configuration | Official ESPHome AIO Hybrid device page |
III. Getting Started Guide
Step 1: Flash Firmware
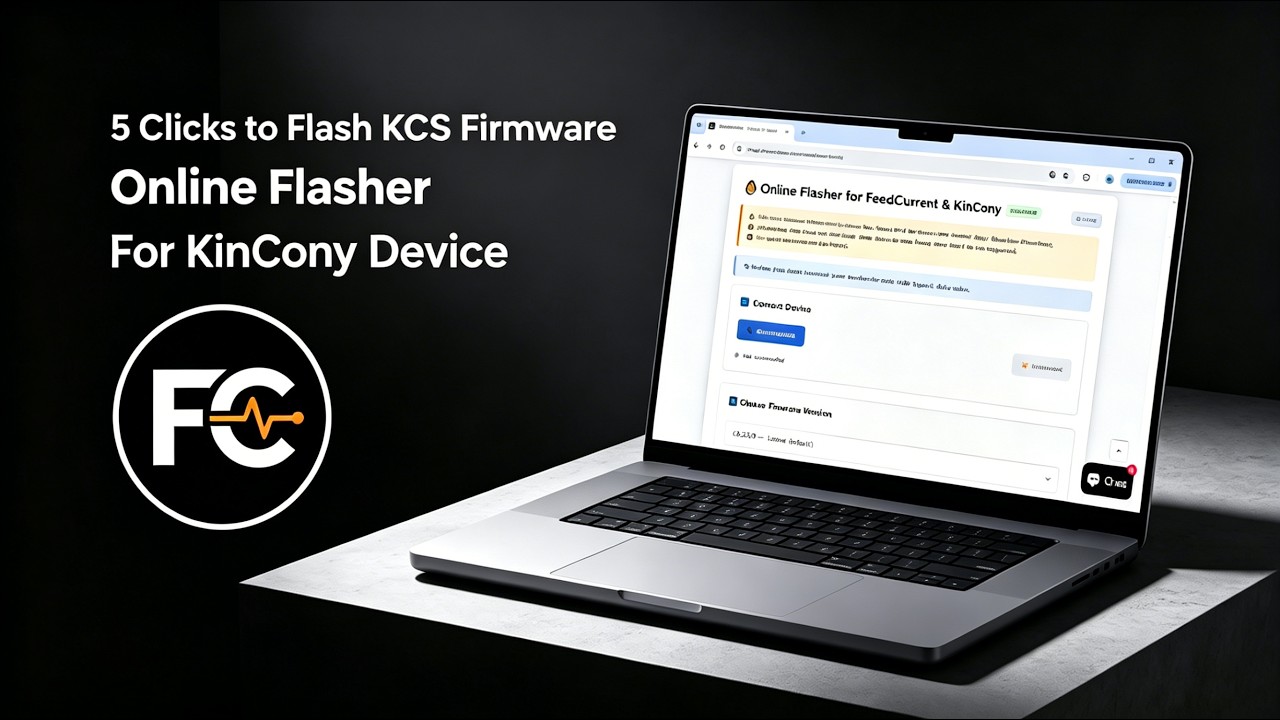
We recommend using the Online Flasher — no driver installation required, works entirely in your browser. Alternatively, follow the Quick Start Guide for manual flashing with the ESP32 desktop tool.
Step 2: Connect & Configure
Power on the board, connect via Ethernet or Wi-Fi, and access the web configuration interface. For detailed configuration, see the KCS Firmware User Guide.
Step 3: Integrate
Enable MQTT auto-discovery in Home Assistant, or pair with Tuya App for voice control.
IV. Video Tutorial: How to Flash KCS Online
No Drivers Needed, No Complex Setup—Flash Directly within Your Browser in 1 Minute!
Looking for software solutions for other products?
View All Product Software Solutions →