



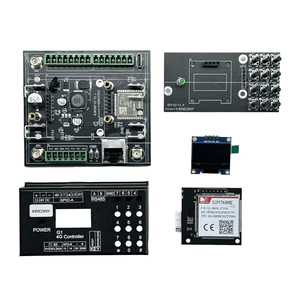
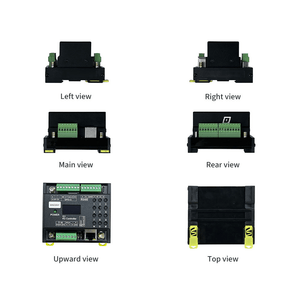
KinCony G1 Programmable 4G Module
Frequently Bought Together
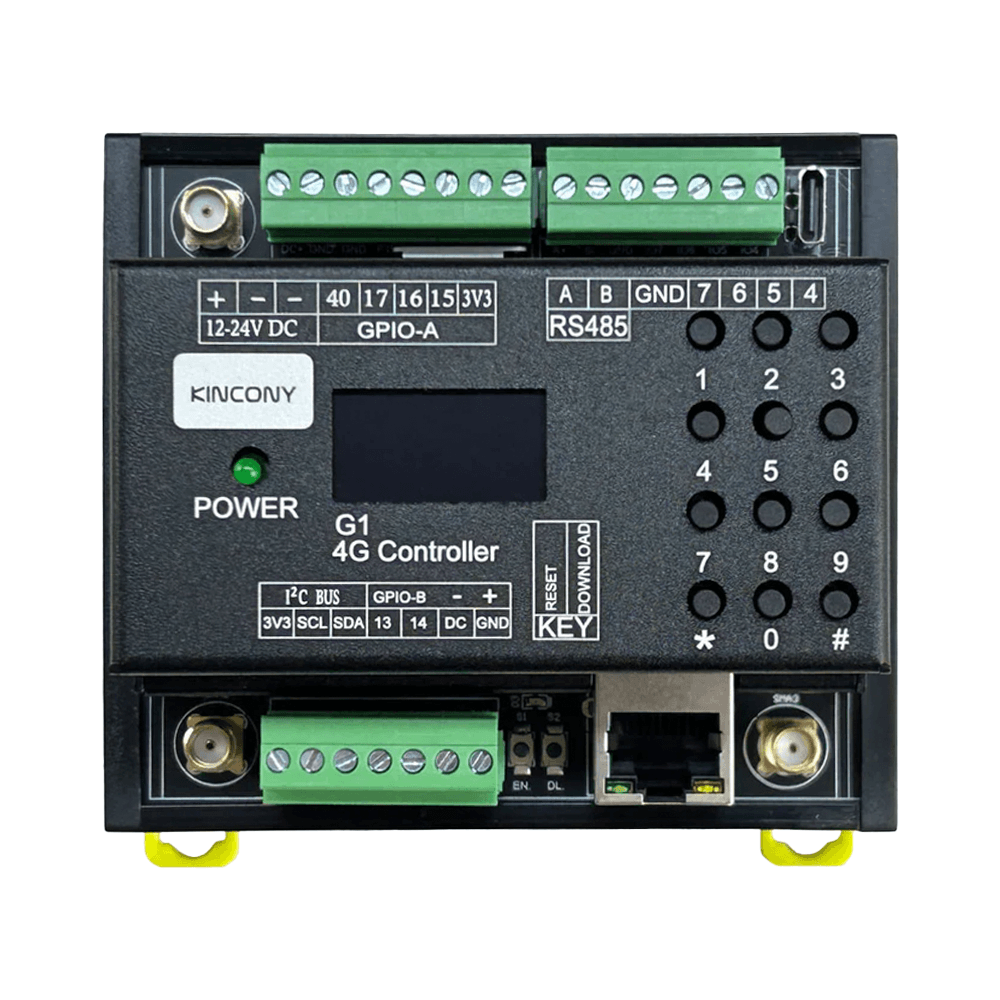
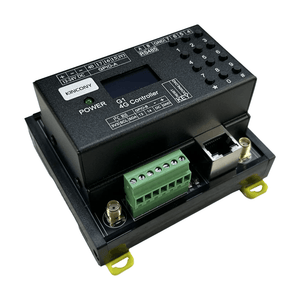
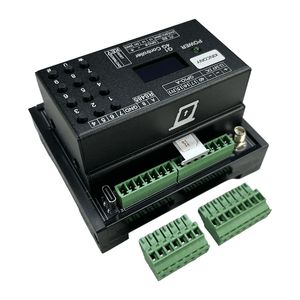
The KinCony G1 is a DIN rail IoT gateway that combines the ESP32-S3 with a SIMCOM SIM7600E 4G LTE module on a single compact board. Where most KinCony controllers treat cellular connectivity as an optional add-on, the G1 makes it the primary feature — it is designed from the ground up for projects where 4G is the main or only communication path. Think remote monitoring stations, off-grid automation panels, vehicle installations, or any site where Wi-Fi and Ethernet are unavailable or unreliable.
Beyond the 4G modem, the G1 gives you Wi-Fi, 100Mbps Ethernet, RS485, Bluetooth, and a generous collection of free GPIO pins — so it works equally well as a connected gateway feeding data to cloud platforms, as a standalone controller running local automations, or as the cellular backbone for a larger KinCony system.
Why You'll Love This Controller
✔ 4G That Actually Works With Home Assistant
KCS v3 firmware exposes SMS and voice call functions directly over MQTT. Receiving a call or text automatically updates a state topic in Home Assistant — no custom scripting, no serial parsing. It just works.
✔ GPS + 4G on One Board
Combining location tracking with cellular data in a single DIN rail module is unusual at this price point. The G1 handles both using the SIM7600E's built-in GPS receiver — no separate GPS module, no extra wiring.
✔ Designed for Off-Grid and Remote Installations
Wide 12–24V DC input, external antenna options for all three radios, and a cellular-first connectivity model make the G1 well suited for sites without fixed infrastructure — remote monitoring stations, agricultural sensors, vehicle dashboards, and similar deployments.
✔ A Communication Hub, Not Just a Controller
The G1 is the right board when the challenge is getting data in and out of a remote location, rather than switching a lot of loads. Pair it with other KinCony controllers on the same RS485 bus or MQTT network and it becomes the cellular backbone of a larger system.
✔ ESPHome Native Support
SMS alerts via ESPHome YAML configuration work out of the box — useful for projects that want sensor-triggered text notifications without custom firmware.
Among other outstanding features are the following:
- Triple-Network Connectivity: Wi-Fi, 100Mbps Ethernet (IPv4/IPv6), and 4G LTE operate independently. The G1 can use Ethernet as its primary connection, fall back to Wi-Fi, and use 4G as a last-resort cellular backup — or run entirely on 4G with no fixed network at all.
- Dedicated Antenna Extenders: Separate IPEX antenna connectors are provided for the ESP32-S3 Wi-Fi antenna, the 4G LTE antenna, and the GPS antenna. All three can be routed to external antennas for improved signal in metal enclosures or challenging RF environments.
- KCS v3 SMS and Voice Call Automation: With KCS v3 firmware, sending an SMS or making a voice call from Home Assistant is a single MQTT publish. Received calls and SMS messages automatically update MQTT state topics, making it straightforward to trigger automations from a phone call or text — no coding required.
- ESPHome 4G Support: The G1 works with ESPHome, which includes native support for sending SMS and making calls via the SIM7600E. A sensor trigger can automatically send a text to your mobile — all configured in YAML, no custom firmware needed.
- Network Status LED: An onboard LED provides a real-time visual indicator of the 4G module's network state: solid on means actively searching or on a call; fast blink means transmitting data; slow blink means registered and idle; off means powered down or in sleep mode.
Technical Specifications:
| Category | Specification |
|---|---|
| Core Processor | ESP32-S3-WROOM-1U (N16R8, dual‑core 32‑bit Xtensa LX7) |
| Digital Outputs | N/A |
| Analog Inputs | N/A |
| Digital Inputs | N/A |
| Digital I/O (GPIO) | ▪ 4× 1‑Wire GPIO (with pull‑up) ▪ 3× free GPIO (direct to ESP32, no pull‑up) ▪ 4× free GPIO (no ESD diode on PCB) |
| Wireless Connectivity | ▪ Wi‑Fi 2.4 GHz (802.11 b/g/n) ▪ Bluetooth 5.0 (BLE) ▪ 4G LTE: SIM7600E‑L1C (with Nano SIM slot, GPS antenna extender) |
| IoT Platform | Compatible with Home Assistant via ESPHome; supports Arduino IDE / MicroPython / ESP-IDF development |
| Wired Connectivity | ▪ Ethernet: 100M RJ45 (W550 chip, IPv4/IPv6) ▪ RS485 ▪ USB‑C (power/programming) ▪ I²C extender ▪ LCD connector |
| Onboard Peripherals | ▪ Antenna extenders: for ESP32-S3, 4G, GPS |
| User Interface | ▪ Buttons: 2× (Reset, Download) + 12× telephone keyboard ▪ Display: SSD1306 128×64 OLED (I²C) |
| Power Supply | 12-24 VDC |
| Dimensions | 95 × 84 × 59 mm |
| Mounting | 35 mm DIN rail (EN 60715) |
I. Firmware Options & Features
| Solution | Ideal For | Key Advantages |
|---|---|---|
| 1. KCS Firmware (Recommended) | Beginners / Zero-Code Users |
✔ Auto-detects Home Assistant via MQTT (zero config) ✔ Works with Tuya App + Alexa/Google Voice Control ✔ Local IFTTT automation (no internet needed) ✔ 2-year free KinCony Cloud (official store only) ✔ Apple HomeKit support for Siri ✔ Supports Loxone Miniserver integration ✔ Multi-protocol: HTTP, MQTT, TCP, RS485 Modbus ✔ 4G SMS & Voice Call support via SIM7600E |
| 2. ESPHome Firmware | Home Assistant Enthusiasts |
✔ Full open-source customization ✔ Official ESPHome device support for G1 ✔ Web UI + deep HA integration ✔ Full YAML examples available ✔ SMS / Voice Call via AT command serial |
| 3. Tasmota Firmware | Open-Source Community |
✔ Massive plugin ecosystem ✔ MQTT / Web control + rule engine |
| 4. Arduino / ESP-IDF Custom Code | Developers |
✔ Full Arduino demos provided ✔ Supports MicroPython / ESP-IDF |
| 5. Hybrid Setup (Best Practice) | Advanced Users | Tuya App (remote via internet) + Home Assistant (local via LAN) — Security + convenience |
II. Technical Resources
Direct links to pin definitions, ESPHome configurations, Arduino demo source codes, and KCS firmware. All open-source and maintained on GitHub.
| Resource | Link |
|---|---|
| KCS Firmware | kcs_firmware/G1/ |
| Pin Definitions | G1_pin_definition.md |
| Arduino Demos | G1/ (examples) |
| ESPHome Configuration | - |
III. Getting Started Guide
Step 1: Flash Firmware
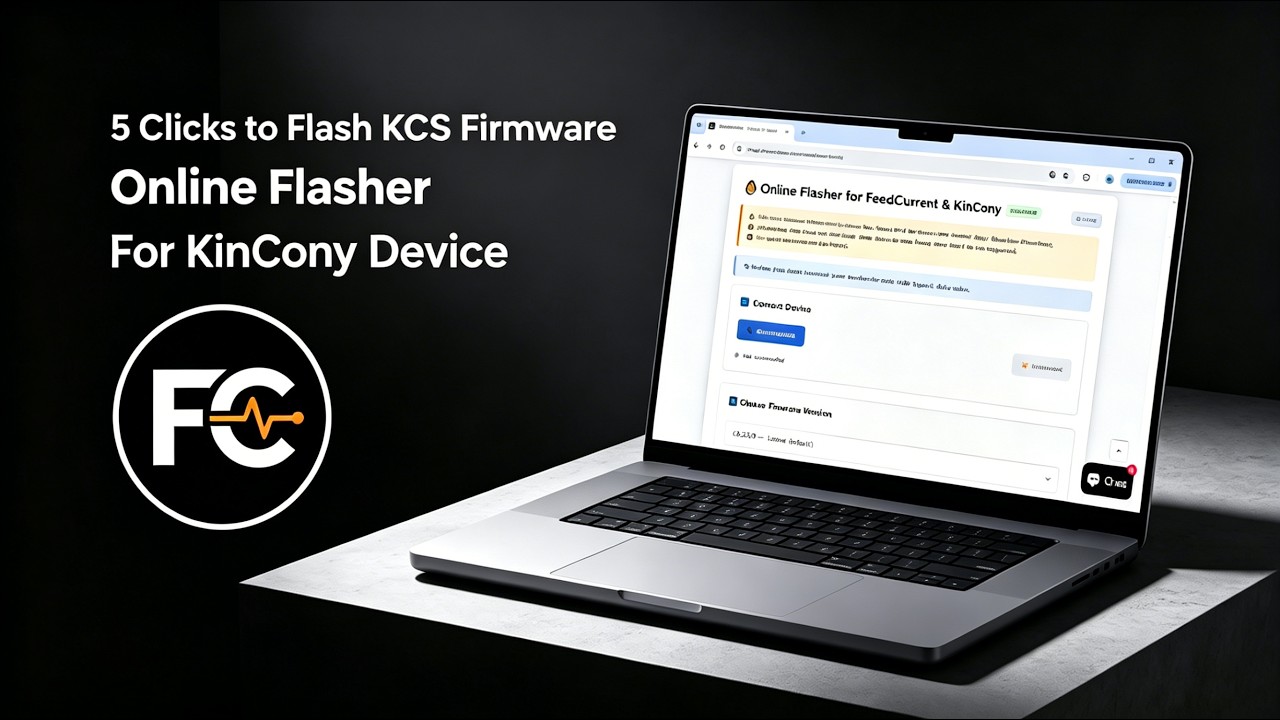
We recommend using the Online Flasher — no driver installation required, works entirely in your browser. Alternatively, follow the Quick Start Guide for manual flashing with the ESP32 desktop tool.
Step 2: Connect & Configure
Power on the board, connect via Ethernet or Wi-Fi, and access the web configuration interface. For detailed configuration, see the KCS Firmware User Guide.
Step 3: Integrate
Enable MQTT auto-discovery in Home Assistant, or pair with Tuya App for voice control.
IV. Video Tutorial: How to Flash KCS Online
No Drivers Needed, No Complex Setup—Flash Directly within Your Browser in 1 Minute!
Looking for software solutions for other products?
View All Product Software Solutions →